There’s something so comforting about baking bread at home. But I’m gonna be real with you. When I first heard about Irish Soda Bread, I thought it sounded fancy and complicated. Like you needed Irish ancestry and years of baking experience just to pull it off.
Nope. Turns out, it’s one of the easiest breads you can make. No yeast. No long rising times. No needing to babysit your dough all day. It’s simple, quick, and honestly one of the most rewarding things you can bake when you want your kitchen to smell amazing and your heart to feel cozy.
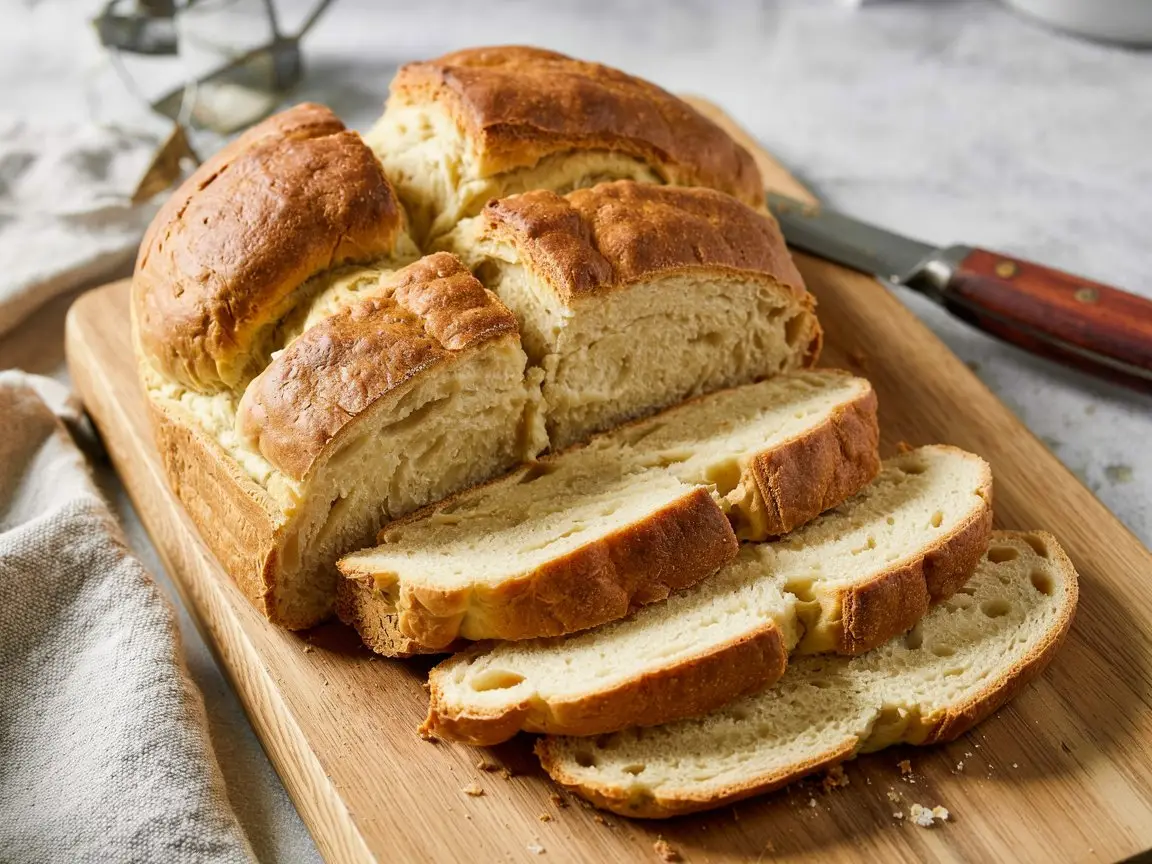
This bread is golden and crusty on the outside, soft on the inside, and it has just the right amount of rustic charm. Plus, if you’ve got kids or family running around, this is the perfect recipe to whip up without feeling like you’ve signed up for an episode of a cooking competition.
Let’s get into it because you’re gonna love this.
What You’ll Need
Ingredients:
- 4 cups all-purpose flour
- 1 teaspoon baking soda
- 1 teaspoon salt
- 1 ½ cups buttermilk
- 1 tablespoon sugar (optional if you like a tiny hint of sweetness)
- 1 cup raisins or currants (optional but so good)
- 2 tablespoons unsalted butter, melted (optional for brushing on top)
Pro Tips
1. Don’t Overmix Once the dough starts coming together, hands off. Overmixing is the fastest way to end up with a tough loaf instead of a tender one.
2. Use Fresh Baking Soda This bread gets all its lift from baking soda, so double-check that yours isn’t ancient. If it’s been in the back of your pantry for two years… maybe grab a new box.
3. Make the “X” That big “X” on top? Not just for looks. It helps the bread bake evenly and gives it that classic Irish soda bread vibe.
4. Make It Yours Add in your favorites like dried cranberries, nuts, or even a sprinkle of cinnamon if you’re feeling adventurous.
5. Kid-Friendly Fun This is such a fun recipe to make with kids. They can help mix, shape the dough, and even brush on the melted butter at the end. Plus, it’s pretty forgiving if little hands get involved.
Tools You’ll Need
- Large mixing bowl
- Wooden spoon or sturdy spatula
- Measuring cups and spoons
- Baking sheet or cast iron skillet
- Sharp knife (for scoring the “X”)
- Cooling rack
Substitutions and Variations
Buttermilk Swap If you don’t have buttermilk, just mix 1 ½ cups of milk with 1 ½ tablespoons of lemon juice or vinegar. Let it sit for 5 minutes before using.
Gluten-Free Option Use a gluten-free all-purpose flour blend. You might need a little extra buttermilk to get the right dough texture.
Dairy-Free Swap Use plant-based milk with a splash of lemon juice. Works just as well.
Switch It Up Not a fan of raisins? No problem. Try dried cherries, chopped pecans, or even leave it plain for a simpler loaf.
Make Ahead Tips
You can prep the dry ingredients ahead of time. Just mix your flour, baking soda, salt, and sugar together and store it in an airtight container. When you’re ready, just add the buttermilk and any add-ins, and you’re off to the races.
Instructions
- Preheat your oven to 425°F. Line a baking sheet with parchment paper or lightly grease a cast iron skillet.
- In a large bowl, whisk together the flour, baking soda, salt, and sugar if you’re using it.
- Stir in the raisins or currants if you want to add them.
- Make a little well in the middle of the dry ingredients and pour in the buttermilk. Stir until a rough dough forms.
- Turn the dough out onto a lightly floured surface and gently knead it a few times just to bring it together. Don’t go wild here.
- Shape the dough into a round loaf and place it on your baking sheet or skillet.
- Grab your sharp knife and cut a deep “X” across the top of the dough.
- Bake for about 35 to 45 minutes. You want it to be golden brown and sound hollow when you tap the bottom.
- Let it cool on a rack. If you want to get extra fancy, brush the top with melted butter while it’s still warm.
Nutrition (Per Slice, about 12 slices)
- Calories: 180
- Carbohydrates: 35g
- Protein: 5g
- Fat: 2g
- Fiber: 1g
- Sugar: 4g
- Sodium: 300mg
Leftovers and Storage
Room Temp Keep your bread in an airtight container at room temperature for up to 2 days.
Freezing Wrap it tightly in plastic wrap and pop it in the freezer. It’ll stay good for about 3 months. Thaw it at room temperature whenever you want a slice.
Reheating Toast slices or warm the whole loaf in the oven at 350°F for about 10 minutes.
FAQs
Can I skip the raisins?
Totally. The bread tastes just as good plain or with other add-ins like cranberries or even chocolate chips if you’re feeling wild.
Why is my soda bread so dense?
Usually it’s from overmixing. You want to handle the dough just enough to bring it together, then stop.
Can I use whole wheat flour?
You can, but it’ll make the bread heavier. I recommend using half whole wheat and half all-purpose for a nice balance.
Do I really need to cut the “X” on top?
Yes! It’s not just for looks. It helps the bread cook evenly and gives it that classic homemade look we’re going for.
Final Thoughts
If you’ve been wanting to try your hand at baking homemade bread, Irish soda bread is where it’s at. It’s simple, hearty, and just about foolproof. Plus, there’s nothing like the smell of fresh bread filling your kitchen.
Give it a try and let me know how it turns out. I’d love to hear your thoughts, your twists on the recipe, or any questions you have down in the comments.