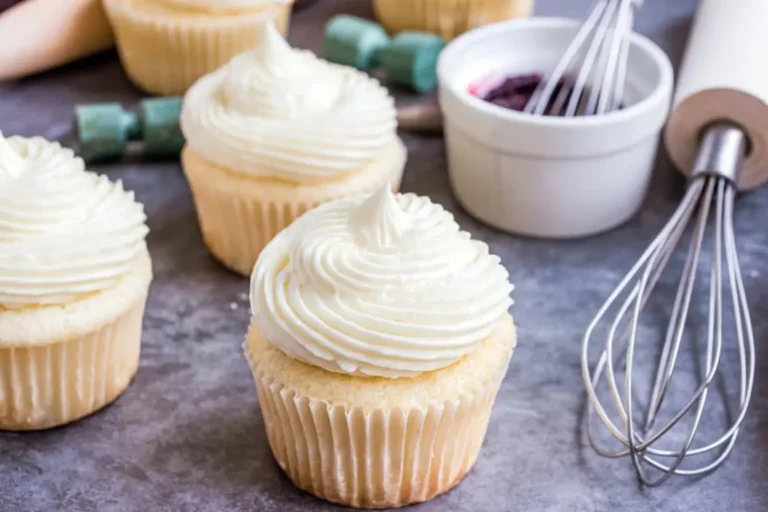
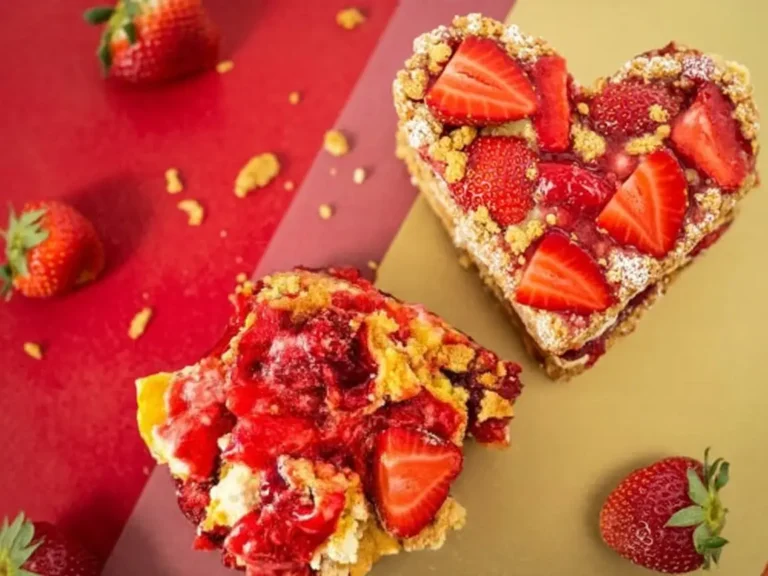
Let’s be real for a second. There are fancy desserts, and then there are desserts that feel like home. This is the latter.
This is the one that shows up at every family reunion, sitting proudly on the potluck table, and it’s always the first one to get demolished. It’s a no-bake legend.
Some call it Cherry Yum Yum, some call it Cherry Lush. I just call it incredible. It’s that dreamy, layered thing with a buttery pecan crust, a cool cream cheese cloud, and a sweet-tart cherry topping. It’s nostalgia in a 9×13 pan.
And because there’s no oven involved, it’s my go-to when the weather gets warm or I just can’t be bothered with actual baking. So, let’s get to it. You’re going to want to make this one.

The Lineup: What You’ll Need
The magic here is all about simple, classic ingredients. No need to get fancy.
| Component | Ingredient |
|---|---|
| Crust | Pecans, melted butter, sugar |
| Filling | Cream cheese, powdered sugar, vanilla, whipped topping |
| Topping | Canned cherry pie filling |
Your Kitchen Arsenal
You definitely don’t need any high-tech gadgets for this. Just the basics will do.
- 9×13 inch baking dish
- A good mixing bowl
- Hand or stand mixer
- Spatula (an offset one is a plus!)
- Measuring cups and spoons
The Game Plan: Making the Magic Happen
Follow these steps, and you’ll have a showstopper on your hands. The chilling part is non-negotiable, so plan ahead!
Step 1: Build the Foundation.
Crush your pecans until they’re pretty fine. A food processor is quick, but a ziplock bag and a rolling pin work just fine for getting out some aggression. Mix the crumbs with the melted butter and sugar until it looks like wet sand. Press this mix firmly into your 9×13 pan. Pop it in the fridge for a good 30 minutes.
Step 2: Create the Creamy Layer.
In a big bowl, beat the softened cream cheese until it’s totally smooth. Seriously, beat it like you mean it. We want zero lumps. Scrape the bowl, then beat in the powdered sugar and vanilla until it’s all light and fluffy.
Step 3: Fold in the Fluff.
Now, gently fold in the thawed whipped topping. Do it in a couple of batches and try not to knock all the air out. The goal is light and airy, not a soupy mess. Fold just until you don’t see any more white streaks.
Step 4: Assemble the First Two Layers.
Grab that chilled crust. Carefully spread the cream cheese goodness all over it, right to the edges.
Step 5: Add the Cherry on Top.
Spoon the cherry pie filling over the cream cheese layer. Spread it gently so the layers stay nice and distinct. A little finesse goes a long way here.
Step 6: Chill Out.
Cover it up and let it hang out in the fridge for at least 4-6 hours. Honestly, overnight is even better. This is where the magic really sets in, making it firm and the flavors perfect.
My Hard-Won Secrets
I’ve made this dessert more times than I can count. Here are a few things I’ve learned that make all the difference.
- Room Temp or Bust. I can’t say this enough: your cream cheese has to be soft. Cold cream cheese equals a lumpy filling, and nobody wants that. Set it out on the counter for at least an hour beforehand.
- The Double-Chill Trick. For layers so clean they look fake, chill the crust, add the cream cheese layer, and then chill it *again* for 30-60 minutes. This firms it up so the cherry topping spreads on top instead of mushing into it.
- Don’t Fear the Tub. I love homemade whipped cream, but for this recipe, the stuff in the tub (like Cool Whip) is your friend. It’s stabilized, meaning it won’t get watery and ruin your masterpiece.
Make It Your Own
The classic is classic for a reason, but who says you can’t play with your food?
| Twist | How to Do It |
|---|---|
| New Fruit | Swap cherry for blueberry or strawberry filling. |
| Different Crust | Try crushed shortbread or Biscoff cookies. |
| Add Some Zest | A little lemon zest in the filling is fantastic. |
Dietary Swaps & Storage
This dessert is surprisingly flexible. Here are a couple of common adjustments. And for leftovers? Tightly cover and refrigerate for up to 4 days. It won’t last that long, I promise.
| Dietary Need | Easy Swap |
|---|---|
| Gluten-Free | Use GF cookies or just nuts for the crust. |
| Vegan | Use vegan cream cheese, butter, & whipped topping. |
Frequently Asked Questions
Q1. Can I use fresh whipped cream?
Ans: You could, but it’s risky. The homemade stuff tends to “weep” or get watery after a day, which can make the crust soggy. If you’re serving it immediately, go for it. For a dessert that holds up, stick with the stabilized store-bought topping.
Q2. Why did my cream cheese layer turn out runny?
Ans: A couple of culprits here. Your cream cheese might have been too soft (like, melty soft from the microwave). Or, you might have gotten too aggressive when folding in the whipped topping, deflating it. Gentle does it.
Q3. Can I use a different pan size?
Ans: For sure. This recipe splits nicely into two 8×8 pans. You can also build it in a springform pan for a cheesecake vibe or even make individual portions in little glass jars. Super cute for parties.
So, What’s the Takeaway?
There it is. A deep dive into a dessert that’s more than just a recipe—it’s a feeling. It’s proof that sometimes the simplest things really are the most satisfying.
I hope you give it a shot. And if you do, let me know how it goes. Did you try a different fruit? Discover a new crust combo? Drop a comment, I’d genuinely love to hear about it.

