I’m just gonna say it. The whole “brownie vs. cheesecake” debate is a special kind of agony. It’s that moment you’re craving something deeply chocolatey but also something ridiculously creamy and tangy. A real Sophie’s Choice of the dessert world.
For way too long, I figured you just had to pick a team. But what if you could have both? What if you could mash up the absolute best parts of each one into a single, perfect-for-you serving? Yeah. We’re going there.
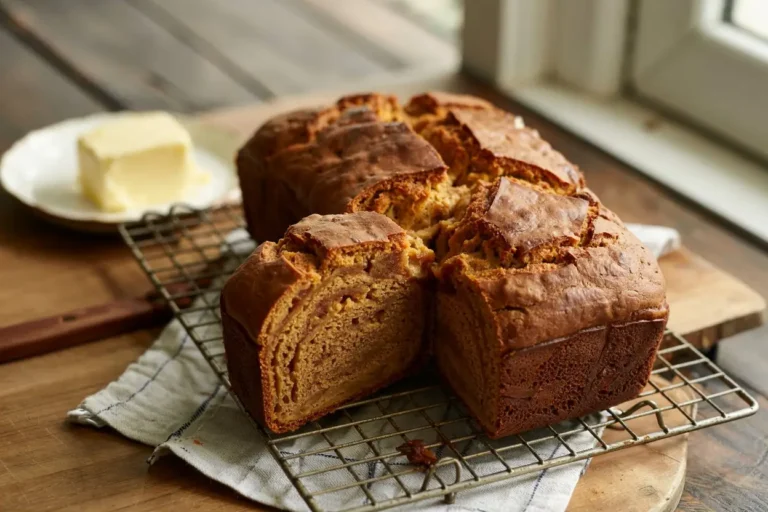
These Loaded Brownie Cheesecake Dessert Cups are basically the answer to your dessert prayers. We’re talking a foundation of crumbled, super-fudgy brownie, a layer of no-bake cheesecake fluff that’s almost silly-easy to make, and then… the fun part. The “loaded” part. That’s where you go absolutely wild.
They look like you slaved away for hours, but honestly? It’s a shockingly simple assembly job. So let’s get into it. One spoonful and you’ll get what all the fuss is about.
What to Grab
The magic here is how everyday pantry stuff turns into something totally next-level. Here’s your mission list.
For the Fudgy Brownie Base:
- ½ cup (113g) unsalted butter, melted
- 1 cup (200g) granulated sugar
- 2 large eggs
- 1 tsp vanilla extract
- ½ cup (60g) all-purpose flour
- ⅓ cup (30g) unsweetened cocoa powder (the good stuff, please)
- ¼ tsp baking powder
- ¼ tsp salt
- ½ cup (85g) semi-sweet chocolate chips
For the No-Bake Cheesecake Fluff:
- 16 oz (452g) full-fat cream cheese, softened up
- 1 cup (120g) powdered sugar
- 1 tsp vanilla extract
- 1 cup (240ml) cold heavy whipping cream
For the “Loaded” Toppings:
- Chocolate ganache or just melted chocolate
- Caramel sauce
- Whipped cream
- Crushed cookies (Oreos are a classic for a reason)
- Chopped pecans or walnuts
- Mini chocolate chips or chocolate shavings
- A few fresh berries
The Gear You’ll Need
No weird, fancy gadgets required. Just the usual suspects from your kitchen cabinets.
- 8×8 inch baking pan
- Parchment paper
- A couple of mixing bowls
- Whisk, spatula
- Electric mixer (a hand mixer is totally fine)
- 6-8 small dessert cups or mason jars
- Piping bag (optional, but it makes you look like a pro)
- Measuring cups and spoons
My Two Cents: Pro Tips
I’ve made these more times than I can count. Here are a few secrets to make sure they turn out amazing every single time.
- The Cardinal Sin of Brownies. If you remember one thing, it’s this: don’t overbake the brownies. Seriously. You want fudgy, not cakey. A toothpick should come out with moist crumbs clinging to it. An underbaked brownie is a gift in this recipe; an overbaked one is just sad.
- Room Temp or Bust. For that silky smooth cheesecake filling, your cream cheese CANNOT be cold. It’s the number one reason for lumpy cheesecake. Leave it on the counter for an hour or two. Trust me on this.
- Your Friend, the Piping Bag. Sure, you can spoon the filling in. It’ll probably be fine. But it’ll also be messy. A piping bag gives you clean, perfect layers without smearing cheesecake all over the glass. Just snip the tip and go.
- Let It Chill. That final rest in the fridge isn’t just a suggestion. It’s what lets the cheesecake set up and the flavors all meld together into something glorious. Give it at least a couple of hours. Don’t rush the magic.
The Game Plan
Ready? Let’s build these little cups of happiness. It’s easier than you think.
Step 1: Get those Brownies Done
- Crank your oven to 350°F (175°C). Line an 8×8 pan with parchment, leaving some hanging over the sides. This is your escape plan for later.
- Whisk the melted butter and sugar together.
- Beat in the eggs one by one, then the vanilla.
- In a separate bowl, mix the flour, cocoa powder, baking powder, and salt.
- Fold the dry stuff into the wet stuff. And I mean fold—don’t go crazy mixing or you’ll get tough, cakey brownies.
- Stir in the chocolate chips.
- Pour the batter into the pan and spread it out.
- Bake for 20-25 minutes. Remember, we want fudgy.
- Let them cool completely. Go do something else for a bit.
Step 2: Whip Up the Cheesecake Filling
- With your electric mixer, beat the softened cream cheese until it’s totally smooth. No lumps allowed. Scrape down the bowl.
- Add the powdered sugar and vanilla and mix until smooth.
- In a different bowl, whip the cold heavy cream until you get stiff peaks. That means when you pull the beaters out, the cream stands up and doesn’t flop over.
- Gently, and I mean gently, fold the whipped cream into the cream cheese mix. You’re trying to keep all that air you just whipped into it.
Step 3: Put It All Together
- Once the brownies are cool, pull them out of the pan and crumble them into bite-sized chunks.
- Layer the brownie crumbles in the bottom of your cups, about 1/3 of the way up.
- Pipe or spoon a thick layer of the cheesecake filling on top.
- Now go nuts. Drizzle the chocolate and caramel. Add whipped cream. Sprinkle on whatever crunchy, delicious things you have.
- You can even repeat the layers if you have tall glasses.
Step 4: Chill Out
- Cover the cups and pop them in the fridge for at least 2-4 hours. Overnight is even better.
- Serve ’em cold and take all the credit.
The Nitty Gritty: Swaps & Info
Dietary Tweaks
Making this fit your lifestyle is pretty easy.
| Diet | The Swap | Quick Tip |
|---|---|---|
| Gluten-Free | 1:1 GF Flour | Double-check labels |
| Lower Sugar | Monk Fruit/Erythritol | Use sugar-free chips |
Topping Inspiration
Don’t know where to start? Here are some ideas.
| Category | Idea #1 | Idea #2 |
|---|---|---|
| Sauce Factor | Chocolate Ganache | Salted Caramel |
| Crunch Factor | Crushed Oreos | Toasted Pecans |
| Extra Factor | Whipped Cream | Fresh Raspberries |
Shortcuts & Variations
Feel like mixing it up or just cutting a corner? I get it.
- Boxed Brownie Mix: Hey, no judgment here. If you’re in a hurry, grab your favorite boxed mix and just follow the directions on the back.
- Switch the Base: Not feeling brownies? (Who are you?) You can use a crushed Oreo or graham cracker crust instead.
- Flavor Fun: Throw a spoonful of peanut butter, a swirl of raspberry jam, or even a little peppermint extract into the cheesecake filling. Why not?
Frequently Asked Questions
Q1. Can I just make this in one big dish?
Ans: For sure. It works great as a trifle. Just layer everything in a big glass bowl for a killer centerpiece dessert.
Q2. Help, my cheesecake filling is runny!
Ans: That usually means one of two things. Either your heavy cream wasn’t whipped into stiff peaks, or you mixed too aggressively when combining it. Don’t panic! The fridge time will help it set up a lot.
Q3. Do I really need to use full-fat cream cheese?
Ans: Yes. This is not the time to skimp. Fat is what gives the cheesecake its creamy texture and structure. The low-fat stuff has too much water and will make your filling sad and runny.