That Fudge Icing from Your Childhood? This Is It.
Let’s be real for a second. Most chocolate icing is a scam.
It’s either that airy, chemical-tasting fluff from a can or a gritty buttercream that’s just sugar in a brown costume. This isn’t that.
This is the stuff of legends. The kind of icing that forms a paper-thin, crackly shell on top while staying impossibly dense and fudgy underneath. It’s a whole different beast.
I get it, a “cooked” frosting sounds like something your grandma, who probably had nerves of steel, would make. But stick with me. This recipe is a time machine in a saucepan, and the smell alone is worth the price of admission. You’re about to create something genuinely special.
Your Arsenal of Ingredients
Nothing fancy here, just the basics. Good quality stuff will pay off in the final taste, though, so don’t skimp if you can help it.
| Ingredient | Amount |
|---|---|
| Unsalted Butter | 1/2 cup (1 stick) |
| Unsweetened Cocoa Powder | 1/3 cup, sifted |
| Whole Milk | 1/2 cup |
| Granulated Sugar | 2 cups |
| Light Corn Syrup | 1 tbsp |
| Pure Vanilla Extract | 2 tsp |
| Pinch of Salt | About 1/8 tsp |
The Right Tools for the Job
No need for a pro-level kitchen, but you’ll want to grab these:
- A decent saucepan (heavy bottom is your friend)
- Whisk & Spatula
- An electric mixer (unless you want a serious arm workout)
- A candy thermometer. Seriously. It removes all the guesswork.
Making the Magic Happen: The Game Plan
Read this through once before you start. Things move fast at the end, and having everything ready is half the battle.
Step 1: In your saucepan, melt the butter, sifted cocoa, and milk over medium heat. Whisk it constantly until it’s totally smooth. No lumps allowed.
Step 2: Dump in the sugar, corn syrup, and salt. Keep whisking until you can’t feel any grainy sugar on the bottom of the pan. It needs to fully dissolve *before* it boils.
Step 3: Stop stirring. Let the mixture come to a full, rolling boil. Hands off the whisk! Stirring now is how you get grainy icing, and nobody wants that.
Step 4: This is the crucial part. Let it boil, untouched, until it hits the “soft-ball stage.” Your candy thermometer should read between 234°F and 240°F. This usually takes 5-8 minutes.
Step 5: Kill the heat. Immediately. Drizzle the vanilla on top but don’t stir it in. Now, walk away. Let it cool until the bottom of the pan is just warm to the touch, about 30-45 minutes. This step is non-negotiable.
Step 6: Time for the transformation. Beat the cooled mixture with an electric mixer on medium. You’ll see it go from a glossy syrup to a thick, lighter-colored frosting. Keep going until it loses that mirror-like shine.
Step 7: GO! The second it loses its gloss, it’s go-time. This stuff sets up fast. Pour and spread it over your cooled cake or brownies immediately.
Things I Messed Up So You Don’t Have To
Trust me, I’ve made all the mistakes. Here’s the cheat sheet to get it right the first time.
| The Problem | What Probably Happened |
|---|---|
| It’s grainy. | You stirred while boiling, or sugar wasn’t dissolved first. |
| It’s a runny soup. | You didn’t cook it long enough to hit 234°F. |
| It turned into a brick. | You beat it while it was too hot, or you overbeat it. |
Riffs and Variations
Once you nail the basic recipe, you can get creative.
- Deeper Chocolate: A teaspoon of instant espresso powder will make the chocolate taste more like itself. It’s a classic trick for a reason.
- Add Some Crunch: Sprinkle chopped pecans or flaky sea salt on top right after you spread it, before it sets.
- Spice it Up: A tiny pinch of cinnamon or even cayenne adds a warmth that’s subtle but so, so good.
What to Do With It
This icing was practically born to be slathered on these things.
| Perfect Pairings | Why It Works |
|---|---|
| Classic Yellow Cake | The ultimate nostalgic combo. |
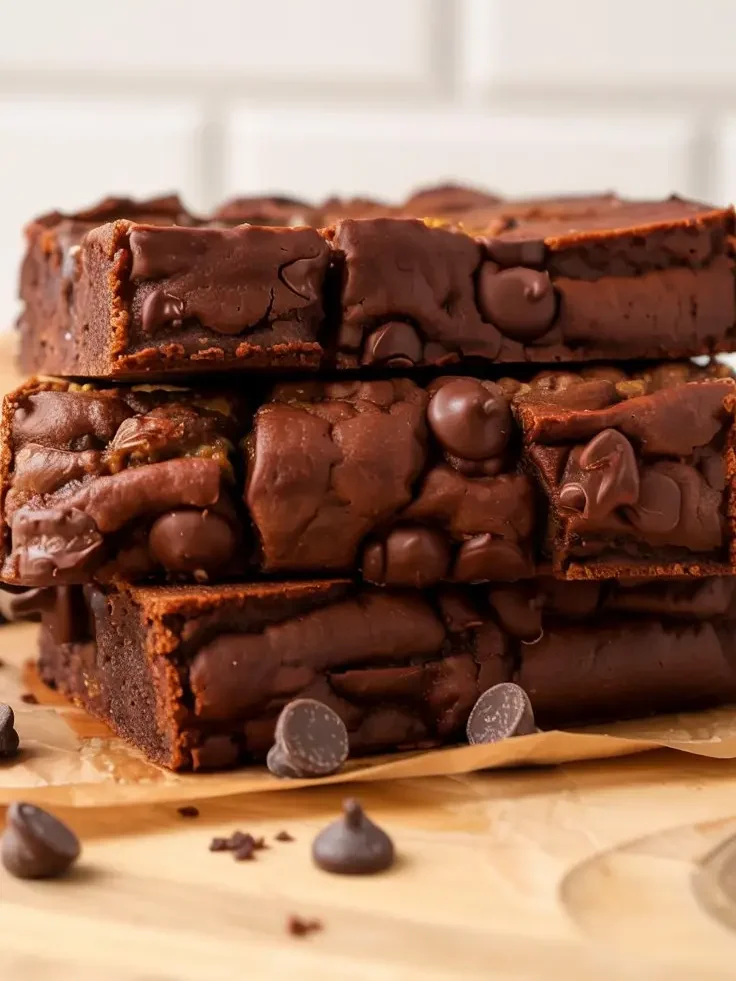
| Fudgy Brownies | For a truly over-the-top chocolate experience. |
| Graham Crackers | Don’t knock it ’til you’ve tried it. Simple perfection. |
Frequently Asked Questions
Q1. My icing got hard before I was done spreading it. Can I save it?
Ans: Yep. Scrape it back into the pan, add a splash of milk (like a tablespoon), and warm it over super low heat, stirring, until it’s spreadable again.
Q2. Can I use Dutch-processed cocoa?
Ans: Totally. It’ll give you an even darker, smoother flavor. Natural cocoa is great too, just a bit more traditional. Use what you’ve got.
Q3. How do I store a cake with this icing?
Ans: Just leave it on the counter. The icing seals the cake and keeps it moist. It’s perfectly fine for a couple of days, no fridge needed (unless the cake filling requires it).
Seriously, Just Make It
There you go. The secret to an icing that people will actually talk about for days.
It’s more than a recipe; it’s a power move. Ditch the can, step away from the powdered sugar, and make something that tastes real. You won’t regret it.


