### S’mores Cookies: Your Favorite Campfire Treat, No Fire Pit Needed
I have this vivid memory of being a kid at a campfire, totally focused on one thing: creating the perfect s’more. The goal was a golden-brown marshmallow, not a charred briquette, and chocolate that was perfectly melty but not liquid. It was a messy, delicious, and utterly perfect experience.
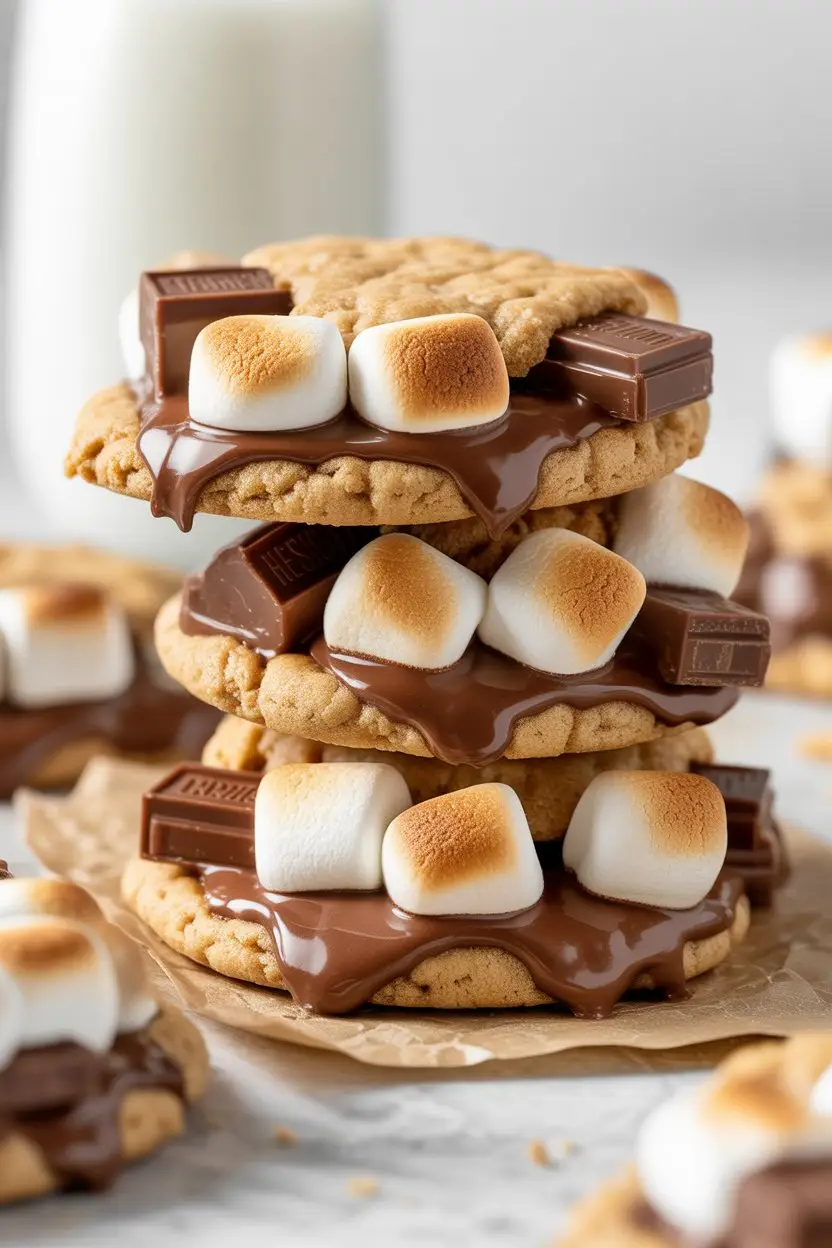
But let’s be real, building a campfire every time a s’mores craving hits isn’t exactly practical. That’s where these cookies come in. They capture all that gooey, chocolatey, graham-cracker-y goodness in one perfect, easy-to-eat package. It’s the nostalgia of a campfire in a cookie.
What You’ll Need
Here are the simple ingredients that bring this campfire magic to your kitchen. It’s all about combining a classic cookie base with the three s’mores superstars.
* 1 cup (2 sticks) unsalted butter, softened
* ¾ cup packed light brown sugar
* ½ cup granulated sugar
* 2 large eggs
* 2 teaspoons vanilla extract
* 2 ½ cups all-purpose flour
* 1 cup graham cracker crumbs (about 10-12 full sheets)
* 1 teaspoon baking soda
* ½ teaspoon salt
* 1 ½ cups mini marshmallows
* 1 ½ cups semi-sweet chocolate chunks or chopped Hershey’s bars
## Required Tools
You don’t need any fancy gadgets for this recipe. Just your standard cookie-baking arsenal will do the trick.
| Tool | Purpose |
| :— | :— |
| Baking Sheets | For baking the cookies |
| Parchment Paper | Prevents sticking, easy cleanup |
| Mixing Bowls | For wet and dry ingredients |
| Electric Mixer | Hand or stand mixer works |
| Spatula | For scraping the bowl |
| Cookie Scoop | For uniform cookie sizes |
## Pro Tips
I’ve made my fair share of these cookies, and I’ve learned a few things that make a huge difference. These tips will take your s’mores cookies from good to absolutely unforgettable.
1. **Chill The Dough. Seriously.** This is non-negotiable. The marshmallows and butter will want to spread like crazy in the oven. Chilling the dough for at least an hour (or even overnight) helps the cookies hold their shape, resulting in a thicker, chewier cookie.
2. **The “Top-Off” Trick.** After you scoop your dough onto the baking sheet, press a few extra mini marshmallows and chocolate chunks right onto the top. This ensures you get that picture-perfect look with visible, gooey toppings instead of having them all melt and hide inside the cookie.
3. **Toast for a Toasty Finish.** For that authentic, campfire-toasted marshmallow flavor, you can use your oven’s broiler. After the cookies are baked, pop them under the broiler for just 15-30 seconds. Watch them like a hawk—they can go from golden to burnt in a flash!
4. **Graham Cracker Balance.** Don’t grind your graham crackers into a fine dust. You want some fine crumbs to mix into the flour, but leaving some slightly larger, pea-sized pieces to fold in at the end adds a wonderful texture and crunch.
## Possible Substitutions and Variations
Part of the fun of baking is making a recipe your own. These cookies are super forgiving and easy to customize.
| Ingredient | Substitution Idea |
| :— | :— |
| Chocolate | Milk, dark, or white chocolate chips |
| Graham Crackers| Crushed Biscoff or Nilla Wafers |
| Marshmallows | Marshmallow fluff swirled in |
| Add-in | A dash of cinnamon in the dry mix |
A fun variation is to use a chopped-up Hershey’s Cookies ‘n’ Creme bar for a completely different flavor profile. The possibilities are pretty much endless.
## Make-Ahead Tips
Life gets busy, I get it. The great news is that you can easily prep this dough ahead of time.
You can make the cookie dough, wrap it tightly in plastic wrap, and store it in the refrigerator for up to 3 days.
For longer storage, roll the dough into a log or portion it into individual cookie balls. Place them in a freezer-safe bag and freeze for up to 3 months. When you’re ready to bake, you can bake them straight from frozen, just add an extra 2-3 minutes to the baking time.
## How to Make S’mores Cookies: Step-by-Step
This process is simple and straightforward. Just follow these steps for gooey, perfect cookies every time.
**Step 1:** In a large bowl, use an electric mixer to cream the softened butter with the brown sugar and granulated sugar until the mixture is light and fluffy. This usually takes about 2-3 minutes.
**Step 2:** Beat in the eggs one at a time, mixing well after each addition. Then, stir in the vanilla extract.
**Step 3:** In a separate medium bowl, whisk together the all-purpose flour, graham cracker crumbs, baking soda, and salt.
**Step 4:** Gradually add the dry ingredients to the wet ingredients, mixing on low speed until just combined. Be careful not to overmix the dough.
**Step 5:** Gently fold in the mini marshmallows and chocolate chunks using a spatula. The dough will be thick and chunky.
**Step 6:** Cover the bowl with plastic wrap and chill the dough in the refrigerator for at least one hour. This step is crucial for preventing the cookies from spreading too much.
**Step 7:** Preheat your oven to 375°F (190°C). Line two baking sheets with parchment paper.
**Step 8:** Scoop rounded tablespoons of dough onto the prepared baking sheets, leaving about 2 inches of space between each cookie. Press a few extra marshmallows and chocolate chunks onto the tops of the dough balls.
**Step 9:** Bake for 10-12 minutes, or until the edges are golden brown and the centers are set. The cookies might look slightly underdone in the middle, but they will continue to bake on the hot pan.
**Step 10:** Let the cookies cool on the baking sheet for 5-10 minutes before transferring them to a wire rack to cool completely. This gives them time to firm up.
## The Nitty Gritty: Nutrition, Pairings, and More
Here’s a quick-glance table to help you with the details, from dietary swaps to what to drink with your delicious new creation.
| Category | Details |
| :— | :— |
| **Nutrition (Approx.)** | Calories: ~180 per cookie |
| **Gluten-Free Swap** | Use a 1:1 gluten-free flour blend |
| **Vegan Swap** | Use plant-based butter & flax eggs |
| **Meal Pairing** | A tall glass of cold milk or hot cocoa |
| **Efficiency Tip** | Measure all ingredients before starting |
Remember, the nutritional info is just an estimate. The best diet is a balanced one, and these cookies are a perfect treat to balance things out!
## Leftovers and Storage
If you somehow have any cookies left over, storing them is a breeze.
Simply place the completely cooled cookies in an airtight container. They will stay fresh at room temperature for up to 4 days. I sometimes like to add a slice of bread to the container to help keep them soft.
You can also freeze the baked cookies. Place them in a single layer on a baking sheet to flash-freeze them for about an hour. Once they’re solid, transfer them to a freezer-safe bag. They’ll keep for up to 3 months. You can thaw them at room temperature or warm them in the microwave for a few seconds.
## Frequently Asked Questions
**Q1. Why did my cookies spread out so much and become flat?**
**Ans:** This is almost always because the dough wasn’t chilled long enough. Chilling solidifies the butter, which helps the cookies bake up thick and chewy instead of spreading thin. Make sure your butter isn’t overly soft to begin with, either.
**Q2. My marshmallows melted and disappeared into the cookie. What did I do wrong?**
**Ans:** Nothing! Mini marshmallows are notorious for melting into cookie dough. To get that classic s’mores look, make sure to fold them in gently at the very end and, most importantly, press a few extra marshmallows right on top of the dough balls just before baking.
**Q3. Can I use marshmallow fluff instead of mini marshmallows?**
**Ans:** You can, but it’s a bit trickier. Instead of mixing it in, drop small dollops of fluff onto the scooped cookie dough and give it a gentle swirl with a toothpick. It can make the dough stickier to handle, but the result is a lovely, gooey swirl.
**Q4. Is it okay to use a Hershey’s milk chocolate bar?**
**Ans:** Absolutely! Using chopped-up Hershey’s bars is a fantastic way to get that authentic s’mores flavor. Just chop the bars into small, irregular chunks and fold them in just like you would with chocolate chips.
## Wrapping Up
There you have it—all the joy of a campfire s’more, neatly packed into a warm, gooey cookie. It’s a simple recipe, but one that delivers big on flavor and nostalgia. It’s perfect for bake sales, parties, or just a Tuesday night when you need a little something special.
Now it’s your turn. I’d love for you to give this recipe a try and see for yourself.
When you do, please come back and leave a comment below. Let me know how they turned out, if you tried any fun variations, or if you have any questions.