I have a confession to make. I used to think those classic, crackly chocolate bars from the store were pure magic. How did they get that perfect snap?
It felt like a secret held under lock and key. But after a little kitchen tinkering, I discovered it’s not magic at all. It’s shockingly simple.
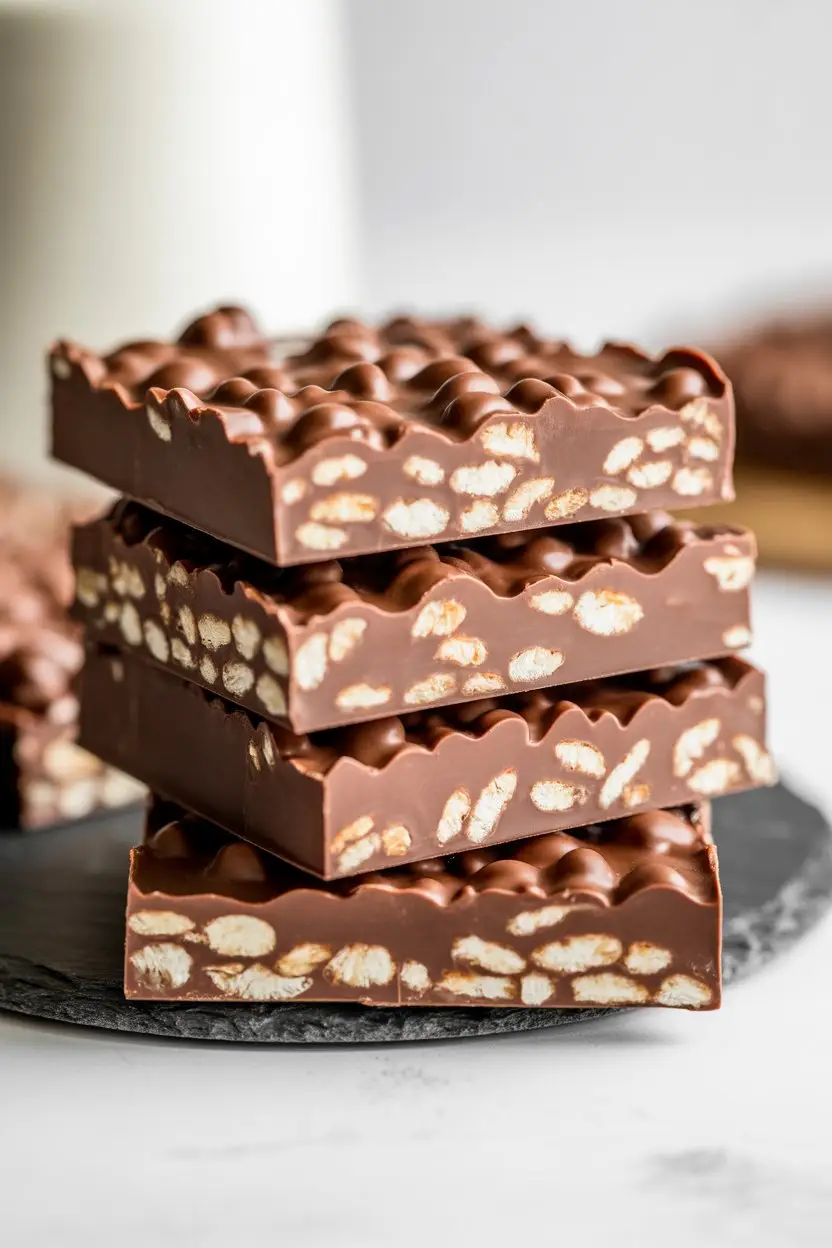
In fact, you only need two main ingredients to recreate that nostalgic treat. This recipe is your ticket to making a batch of crunch bars that will blow the store-bought version out of the water.
They are unbelievably easy and dangerously good. Let’s get into it.
What You’ll Need
The beauty of this recipe is its simplicity. You don’t need a long, complicated list of ingredients to achieve that perfect crunch.
| Ingredient | Amount | Notes |
|---|---|---|
| Milk Chocolate Chips | 12 ounces (2 cups) | Good quality chocolate makes a difference. |
| Crispy Rice Cereal | 4 cups | The classic “snap, crackle, pop” kind. |
| Coconut Oil (Optional) | 1 teaspoon | Helps the chocolate melt smoothly. |
Tools Required
No fancy gadgets are needed here. Just a few kitchen basics will do the trick.
- 8×8 inch square baking pan
- Parchment paper
- Large microwave-safe bowl or a double boiler
- Silicone spatula or large spoon
- Measuring cups
How to Make Homemade Crunch Bars
This process is so fast, you’ll have these ready to chill in under 15 minutes.
Step 1: Prepare your pan. Line an 8×8 inch baking pan with parchment paper, leaving some overhang on the sides. This will act as a handle to lift the bars out later.
Step 2: Gently melt the chocolate. Place your chocolate chips and the optional coconut oil in a large, microwave-safe bowl. Microwave in 30-second intervals, stirring well after each one, until the chocolate is almost completely melted.
Step 3: Stir the chocolate until it’s smooth. Remove the bowl from the microwave and keep stirring until the residual heat melts the last few chips. This prevents the chocolate from getting too hot.
Step 4: Add the cereal. Pour the crispy rice cereal into the bowl with the melted chocolate. Gently fold everything together with your spatula until every piece of cereal is coated in chocolatey goodness.
Step 5: Press the mixture into the pan. Immediately scrape the mixture into your prepared pan. Use the back of the spatula to spread it into an even layer, pressing down firmly to pack it in tightly.
Step 6: Chill until firm. Place the pan in the refrigerator for at least 30-45 minutes, or until the chocolate is completely set and hard to the touch.
Step 7: Cut and serve. Once firm, use the parchment paper handles to lift the entire block out of the pan. Place it on a cutting board and use a large, sharp knife to cut it into bars or squares.
Pro Tips
I’ve made my fair share of these, and I’ve learned a few things that guarantee success every time.
- Toast Your Cereal: For an extra layer of nutty flavor and an even crispier texture, spread the rice cereal on a baking sheet. Toast it in the oven at 350°F (175°C) for about 5-7 minutes. Let it cool completely before using.
- The Press is Key: Don’t be shy when pressing the mixture into the pan. A firm, even press is what keeps the bars from crumbling apart later. I sometimes use the bottom of a measuring cup to get it nice and compact.
- For Clean Cuts: Run a large, sharp knife under hot water for a few seconds, then wipe it dry. The warm blade will slice through the cold chocolate cleanly without shattering it. Repeat for each cut.
Substitutions and Variations
This two-ingredient recipe is a fantastic base for getting creative. Here are a few ideas to get you started.
| Substitution | How to Do It | Resulting Flavor |
|---|---|---|
| Dark or White Chocolate | Swap milk chocolate 1:1. | Richer and less sweet, or creamy and sweet. |
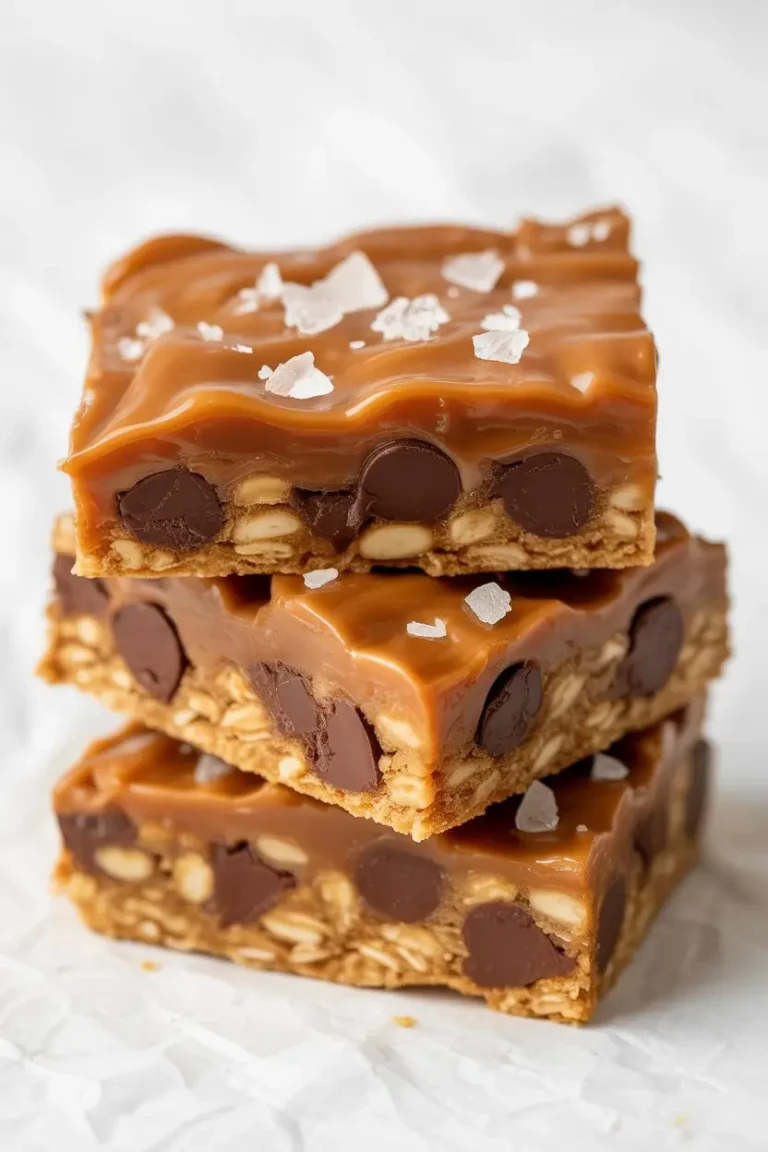
| Add Peanut Butter | Melt 1/4 cup of creamy peanut butter with the chocolate. | A classic chocolate-peanut butter combo. |
| Sprinkle Sea Salt | Sprinkle a pinch of flaky sea salt on top before chilling. | Enhances the chocolate flavor. |
| Add Nuts or Seeds | Stir in 1/2 cup of chopped peanuts, almonds, or sunflower seeds. | Adds extra crunch and nutty flavor. |
Make-Ahead Tips
These bars are perfect for making in advance. You can prepare a full batch up to 3-4 days ahead of time.
Just follow the recipe, cut them into bars, and store them in an airtight container. They’ll be ready whenever you need a quick treat.
Nutritional Breakdown and Diet Swaps
Here’s a look at the estimated nutritional information per bar, along with ways to adapt this recipe for different dietary needs.
Disclaimer: This is an estimate based on a recipe making 16 bars. Actual values may vary based on specific ingredients used.
| Nutrient | Estimated Amount |
|---|---|
| Calories | ~110 kcal |
| Fat | ~6g |
| Carbohydrates | ~14g |
| Sugar | ~10g |
| Protein | ~1g |
Dietary Adaptations:
- For a Vegan Version: Simply use a brand of dairy-free chocolate chips. Many dark chocolate varieties are naturally vegan, but always check the label.
- For a Gluten-Free Version: While rice is naturally gluten-free, some crispy rice cereals contain malt flavoring, which comes from barley. Be sure to use a brand that is certified gluten-free to be safe.
Cooking Time Efficiency
The best tip for speed is to practice “mise en place.” It’s a French term that means “everything in its place.”
Before you even think about melting the chocolate, get everything ready. Line your pan, measure your cereal, and have your spatula handy. This way, you can work quickly once the chocolate is melted, which is crucial for the best texture.
Leftovers and Storage
Storing these bars correctly keeps them perfectly crunchy.
You can store them in an airtight container at room temperature for up to 5 days. If your kitchen is very warm, they might get a little soft.
In that case, you can keep them in the refrigerator. Just let them sit out for a few minutes before eating for the best texture.
Frequently Asked Questions
Here are answers to a few common questions that might come up.
Q1. Why are my crunch bars falling apart when I cut them?
Ans: This usually happens for two reasons. Either the chocolate-to-cereal ratio was a bit off (not enough chocolate to bind it), or the mixture wasn’t pressed firmly enough into the pan before chilling. A tight pack is essential!
Q2. Can I use a different size pan, like a 9×13 inch?
Ans: You can, but your bars will be much thinner and more delicate. You would likely need to double the recipe to get a good thickness in a 9×13 inch pan. If you use the same amount, they will set faster but might be more prone to breaking.
Q3. My chocolate got thick and grainy while melting. What happened?
Ans: This is called “seizing.” It happens when chocolate gets too hot or comes into contact with even a tiny drop of water. This is why microwaving in short bursts and stirring frequently is so important. Once seized, it’s hard to save for this recipe, so it’s best to start over.
Q4. Can I freeze homemade crunch bars?
Ans: Yes! They freeze beautifully. Place the cut bars in a single layer in a freezer-safe container or bag. Separate layers with parchment paper to prevent sticking. They will last for up to 3 months. Thaw them at room temperature for about 15-20 minutes before enjoying.
Wrapping Up
See? No magic, just a simple technique for an incredibly satisfying treat. You are now equipped to make the crunchiest, most delicious chocolate bars right in your own kitchen.
The best part is making it your own. Add some sprinkles, a swirl of caramel, or your favorite chopped candy. The possibilities are endless.
Give this recipe a try. I’d love to hear how it turns out for you. Drop a comment below with your experience or any creative twists you came up with!