I remember one scorching summer afternoon, the kind where the pavement is practically melting. The craving for creamy, cold ice cream hit me like a ton of bricks.
I rummaged through my kitchen, only to be met with the sad reality: no ice cream maker. It felt like a culinary dead end.
But then I remembered a little secret, a magical two-ingredient trick that changes everything. This recipe is my gift to you for those moments. It’s proof that you don’t need fancy gadgets to create something truly delicious.
What You’ll Need
The beauty of this recipe is its simplicity. You only need a few core items to create the perfect creamy base.
- Heavy Whipping Cream: This is the backbone. Its high fat content is what allows it to whip into a fluffy, stable cloud that gives the ice cream its body.
- Sweetened Condensed Milk: This is our magic ingredient. It provides the sugar, but its thick, milky texture also prevents large ice crystals from forming, keeping the final result smooth instead of icy.
- Vanilla Extract: A splash of pure vanilla extract elevates the flavor from just “sweet” to “classic vanilla.”
- Pinch of Salt: It might sound odd, but a tiny bit of salt actually enhances the sweetness and balances the richness of the cream.
Tools Required for the Job
You won’t need a full-blown industrial kitchen for this. Just a few basic tools will do the trick.
- A large mixing bowl (metal or glass is best)
- An electric hand mixer or a stand mixer with a whisk attachment
- A rubber or silicone spatula
- A 9×5 inch loaf pan or another freezer-safe container
Pro Tips for Perfect Results
I’ve made my share of mistakes with this recipe so you don’t have to. Here are a few hard-won tips to guarantee success on your first try.
1. Chill Everything: I mean everything. Put your mixing bowl and the beaters from your electric mixer in the freezer for about 15-20 minutes before you start. Cold cream whips up faster and creates more volume, which is key for a light, airy texture.
2. Know Your Peaks: The goal for whipping the cream is “stiff peaks.” This means when you lift the beaters out of the cream, the peak that forms holds its shape and doesn’t slump over. If you stop too early (soft peaks), your ice cream might be dense. If you go too far, you’ll start making butter!
3. Fold, Don’t Stir: When you combine the whipped cream with the sweetened condensed milk, be gentle. Use a spatula to “fold” them together. This means scraping down the side of the bowl and folding the mixture over the top. This technique keeps all the air you just whipped into the cream from deflating.
How to Make No-Churn Ice Cream: Step by Step
Let’s get down to business. This process is so quick, you’ll wonder why you ever bought store-bought ice cream.
Step 1: Place your large mixing bowl and beaters in the freezer for at least 15 minutes to get them nice and cold. This is a crucial step for a fluffy result.
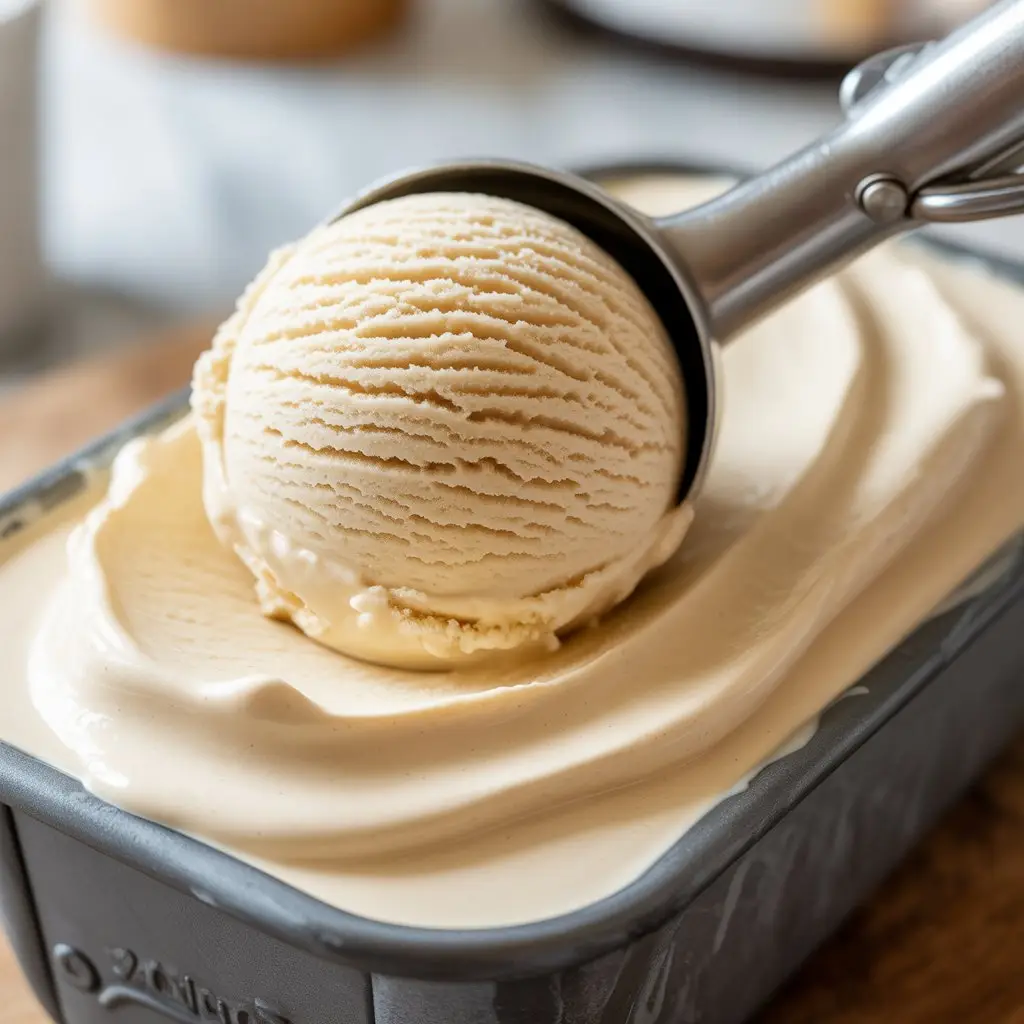
Step 2: Pour the cold heavy whipping cream into the chilled bowl. Using your hand mixer or stand mixer, whip the cream on medium-high speed until stiff peaks form. This usually takes about 3-4 minutes.
Step 3: In a separate, smaller bowl, stir together the sweetened condensed milk, vanilla extract, and a pinch of salt until they are well combined.
Step 4: Gently pour the condensed milk mixture into the bowl with the whipped cream. Using a spatula, carefully fold the two mixtures together until they are just combined. Be careful not to overmix and knock the air out.
Step 5: If you are adding any mix-ins like chocolate chips or cookie chunks, gently fold them in now.
Step 6: Pour the final mixture into your loaf pan or freezer-safe container. Smooth the top with your spatula.
Step 7: Cover the container tightly. I like to press a piece of plastic wrap directly onto the surface of the ice cream to prevent ice crystals, then cover the whole pan with foil. Freeze for at least 6 hours, or preferably overnight, until firm.
Substitutions and Fun Variations
This basic vanilla recipe is a blank canvas. Once you master the technique, the possibilities are endless. Here are a few ideas to get you started.
| Flavor Variation | What to Add | Instructions |
|---|---|---|
| Rich Chocolate | 1/2 cup unsweetened cocoa powder | Sift and mix into condensed milk. |
| Strawberry Swirl | 1 cup strawberry puree | Gently swirl in before freezing. |
| Mint Chocolate Chip | 1 tsp peppermint extract & 1 cup chocolate chips | Add with condensed milk and fold in chips. |
| Cookie Dough | 1 cup edible cookie dough chunks | Fold in gently as the very last step. |
Ingredient Swaps for Different Diets
Want to make this fit a specific dietary need? No problem. The recipe is surprisingly flexible.
| Dietary Need | Cream Substitute | Sweetener Substitute |
|---|---|---|
| Vegan / Dairy-Free | 2 cans full-fat coconut cream (chilled solid part only) | 1 can sweetened condensed coconut milk |
| Lower Sugar | Heavy Whipping Cream | Sugar-free condensed milk (texture may vary) |
Make-Ahead and Storage Tips
This is the ultimate make-ahead dessert. You can whip up a batch on Sunday and have it ready for the whole week.
For storage, the key is preventing freezer burn. Pressing plastic wrap directly against the surface of the ice cream is the best defense against icy textures. Then, seal the container with a lid or a tight layer of aluminum foil.
Properly stored, your homemade no-churn ice cream will stay perfectly creamy and delicious for up to 2 weeks in the freezer.
Nutritional Info and Efficiency
While this is certainly a treat, it’s good to know what you’re eating. The nutritional content will vary based on your mix-ins, but the base is rich and satisfying.
To be efficient, prepare your mix-ins while the cream is whipping. Have your loaf pan ready to go and your condensed milk mixture pre-stirred. This turns the whole process into a 10-minute assembly job.
Meal Pairing Suggestions
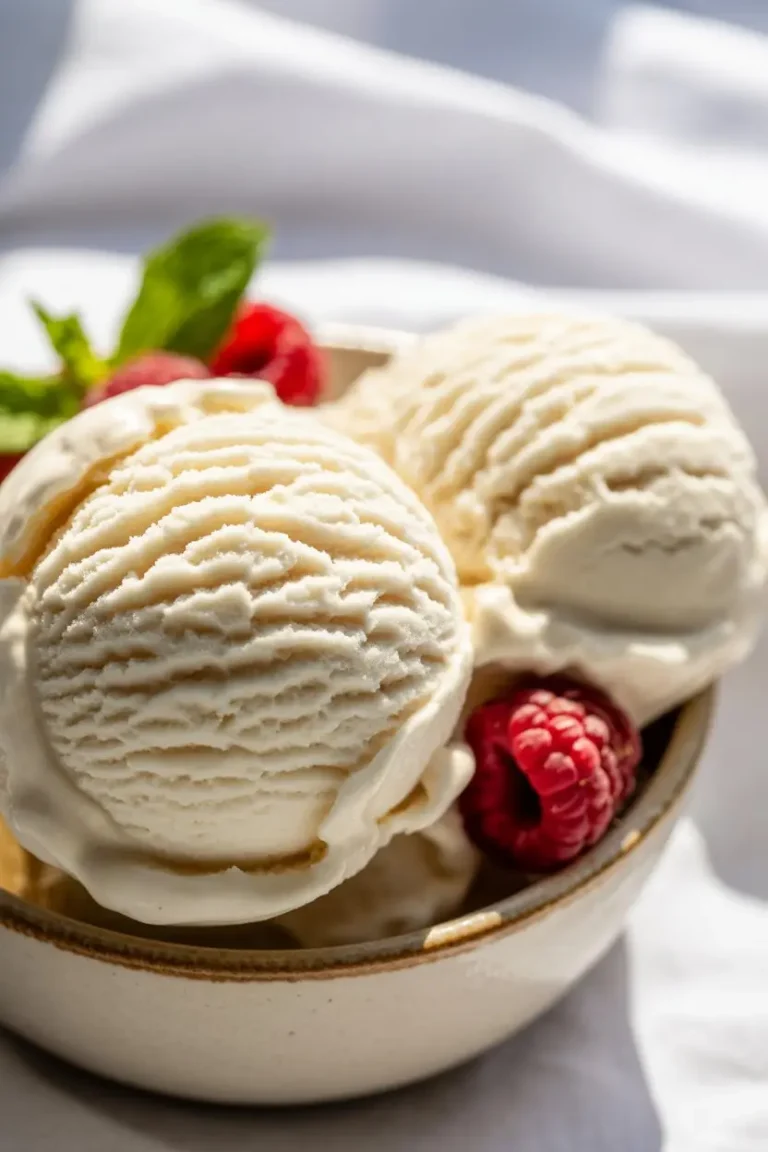
This ice cream isn’t just for a cone. Try a scoop on a warm brownie, alongside a slice of apple pie, or as the star of a banana split. A simple bowl of fresh berries also pairs beautifully with the creamy vanilla base.
Frequently Asked Questions (FAQ)
Q1. Why is my ice cream icy instead of creamy?
Ans: This usually happens for two reasons. First, the container wasn’t sealed properly, allowing ice crystals to form. Make sure you press plastic wrap directly on the surface. Second, you may have added mix-ins with high water content (like fresh fruit chunks) which can freeze into ice shards.
Q2. Why didn’t my ice cream freeze completely solid?
Ans: Your freezer might not be cold enough. Also, if you added any alcohol (like in a rum raisin variation), it can lower the freezing point and result in a softer set. A little bit is okay, but too much will prevent it from freezing hard.
Q3. Can I make this without an electric mixer?
Ans: Absolutely! But be prepared for an arm workout. You can use a whisk to whip the cream by hand in a chilled bowl. It will take longer, but you can definitely achieve stiff peaks with some dedication.
Q4. Can I use something other than sweetened condensed milk?
Ans: I wouldn’t recommend it for this specific recipe. The condensed milk is what provides the sugar, fat, and texture that prevents ice crystals. Using regular milk and sugar will result in a very icy, hard block rather than creamy ice cream.
Wrapping Up
And there you have it. A ridiculously easy path to creamy, dreamy, homemade ice cream without any special equipment. It’s a game-changer for hot days, movie nights, or any time you just need a sweet treat.
Now it’s your turn to get creative. Try out the recipe, experiment with your own flavor combinations, and see just how simple it is.
I’d love to hear how it turns out for you. Drop a comment below with your favorite mix-ins or any questions you have. Happy churning, or should I say, non-churning!