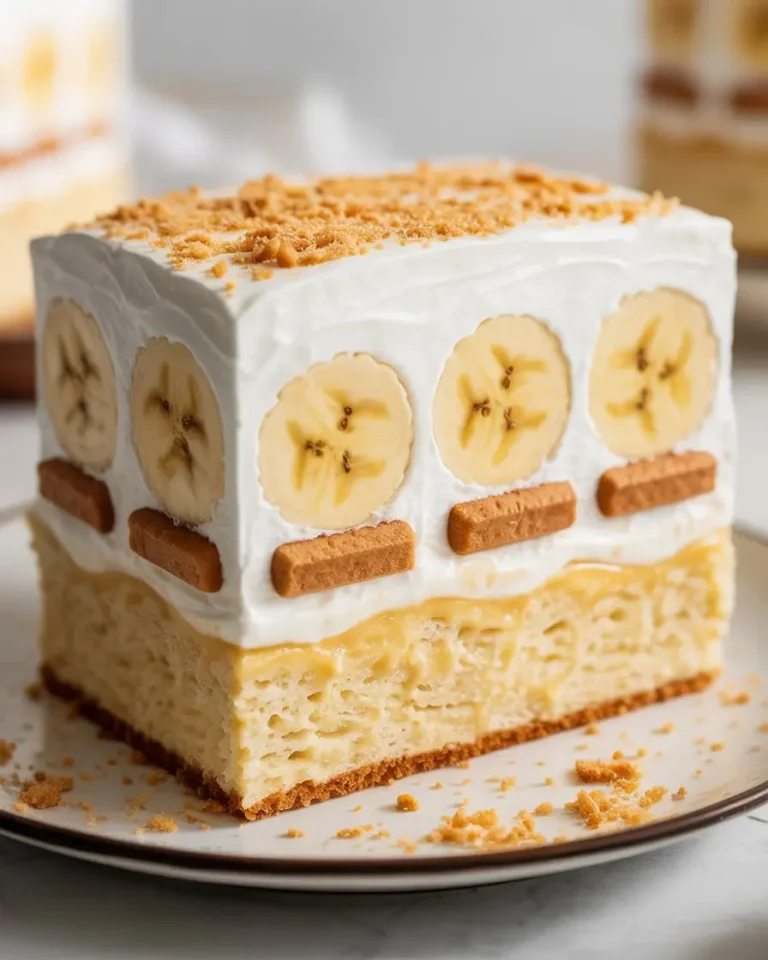
Raspberry Pistachio Cheesecake
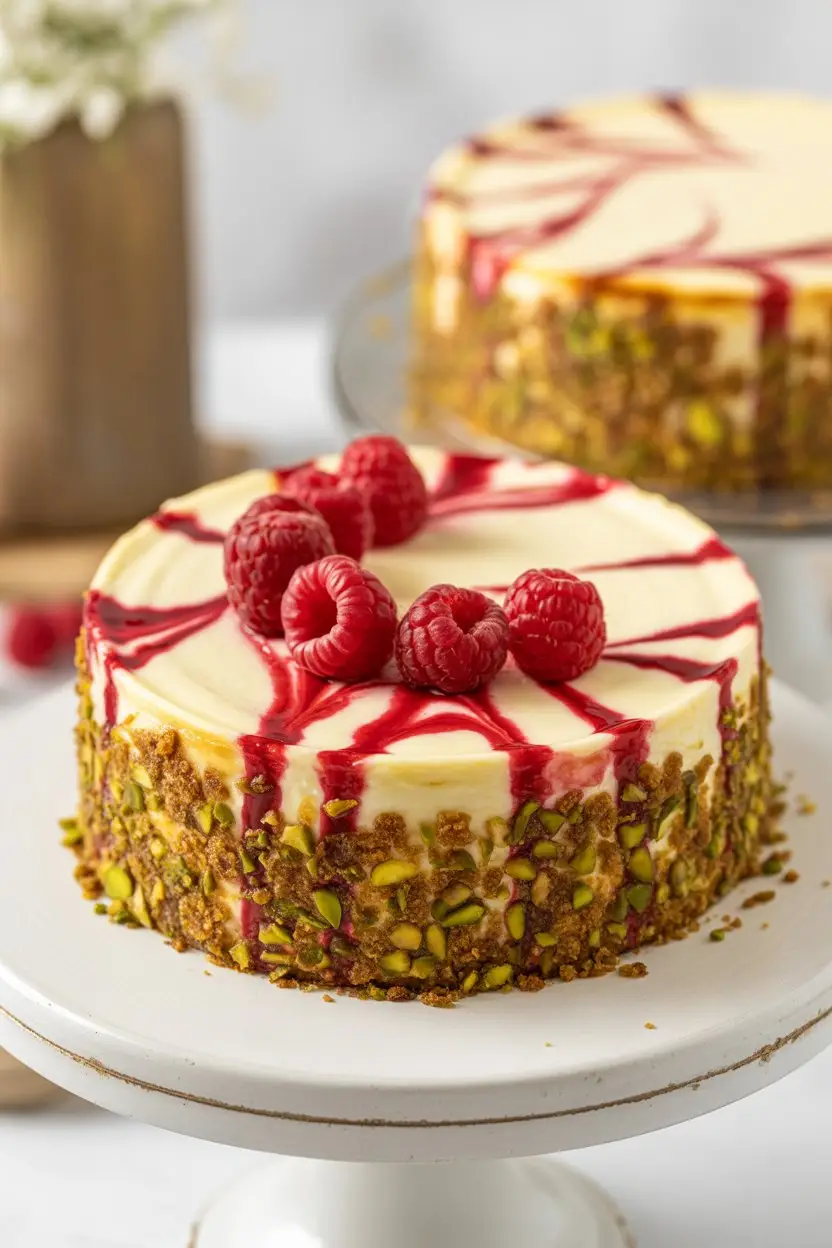
Alright, let’s talk about dessert fatigue. You know what I mean. We’re all stuck in a rut with the same old power couples. Peanut butter and chocolate, sure. Apple and cinnamon, fine. But it’s time for a shake-up.
Enter pistachio and raspberry. It’s the unexpected pairing that just works, a little bit nutty and buttery, a little bit sharp and tangy. This isn’t just another cheesecake. It’s the one that looks like it took three days and a culinary degree, but—and this is the best part—it’s totally manageable. We’re building this thing from the ground up, and trust me, the result is something special.
What You’ll Need
- For the Pistachio Crust:
- 1 cup raw, unsalted, shelled pistachios
- 1 cup graham cracker crumbs
- 3 tablespoons granulated sugar
- 6 tablespoons unsalted butter, melted
- For the Raspberry Swirl:
- 1 ½ cups fresh or frozen raspberries
- ¼ cup granulated sugar
- 1 tablespoon fresh lemon juice
- 1 tablespoon cornstarch + 1 tbsp cold water
- For the Cheesecake Filling:
- 32 oz full-fat block cream cheese, softened
- 1 ⅔ cups granulated sugar
- 4 large eggs, room temp
- 1 cup full-fat sour cream, room temp
- 2 teaspoons pure vanilla extract
- 1 tablespoon all-purpose flour
- Pinch of salt
- For Garnish (If you’re feeling fancy):
- Fresh raspberries
- Chopped toasted pistachios
Tools Required
You don’t need a pro kitchen, just the right gear. Having these on hand makes everything go a whole lot smoother.
| Tool | Why It Matters |
|---|---|
| 9-inch springform pan | For those clean, pretty slices. |
| Large roasting pan | Your water bath vessel. |
| Mixer (stand or hand) | Essential for a lump-free filling. |
| Food processor | Makes short work of the crust. |
| Heavy-duty aluminum foil | Your anti-soggy-crust insurance. |
Pro Tips
I’ve made cheesecakes that looked like the surface of the moon. Here’s what I learned so you don’t have to.
Room Temp is Law
I’m not kidding. If your cream cheese, eggs, or sour cream are cold, you’re doomed to a lumpy batter. Set them out on the counter a few hours before you start. This is the one rule you can’t break.
The Water Bath is Your Friend
It sounds fussy, I know. But the steam from a water bath (or a *bain-marie* if you want to be fancy) is what gives you that perfect, creamy texture without a single crack. Just wrap your pan well.
Toast Those Nuts
Don’t skip this. A few minutes in the oven wakes up the oils in the pistachios and deepens their flavor immensely. It’s a tiny step with a massive payoff.
Cool It Down. Slowly.
Sudden temperature changes cause cracks. When it’s done baking, just turn the oven off, crack the door with a wooden spoon, and walk away for an hour. Patience is a virtue, especially in cheesecake.
Substitutions and Variations
Look, it’s your kitchen. Feel free to play around a little.
| For a… | Try this… |
|---|---|
| Nut-Free Crust | Use 2 cups of graham cracker crumbs. |
| Gluten-Free Version | Use GF graham-style crackers. |
| Different Berry Flavor | Strawberry or cherry sauce works great. |
| Deeper Flavor | Add ½ tsp of almond extract. |
How to Make This Thing: Step-by-Step
Put on some music. Pour a drink. Let’s get into it.
Step 1: Prep the Oven and Pan
Get your oven preheating to 350°F (175°C). Wrap the outside of your springform pan in two, maybe three, layers of heavy-duty foil. Boil a kettle for the water bath you’ll need later.
Step 2: Make the Crust
Pulse the pistachios, graham cracker crumbs, and sugar in a food processor until it’s a fine meal. Drizzle in the melted butter and pulse until it looks like wet sand. Press that mixture firmly into your pan. Bake it for 10 minutes, then let it cool.
Step 3: Create the Raspberry Swirl
Toss the raspberries, sugar, and lemon juice into a small saucepan over medium heat. Mash the berries as they cook down. Once it’s simmering, pour in your cornstarch slurry (the cornstarch mixed with water) and stir for a minute or two until it thickens. Push it through a sieve to get rid of the seeds. Let it cool completely.
Step 4: Mix the Filling
Drop your oven temp to 325°F (160°C). In a large bowl, beat the room-temp cream cheese until it’s totally smooth. Scrape the bowl down. Add the sugar, salt, and flour, mixing on low. Then, add the eggs one by one, mixing just until they disappear. Don’t go crazy here. Over-mixing is the enemy. Stir in the sour cream and vanilla last. Done.
Step 5: Assemble and Bake
Pour the batter over your crust. Drop spoonfuls of the cooled raspberry sauce on top. Use a knife to drag through the dollops and make a marbled pattern. Just a few swirls is all it takes. Place the whole thing in your roasting pan and pour hot water from the kettle around it, about halfway up the sides. Get it in the oven.
Bake for 60-75 minutes. You’re looking for set edges and a center that still has a little jiggle to it.
Step 6: The Cool Down
Turn the oven off. Prop the door open and let the cheesecake cool in there for one full hour. Then, take it out of the water bath, remove the foil, and let it cool completely on the counter before it even sees the inside of a fridge. Chill it for at least 8 hours. Overnight is better.
Leftovers and Storage
If you have leftovers—and that’s a big if—cover it and keep it in the fridge for up to 5 days. It also freezes beautifully. Just slice it up, freeze the slices on a tray, then wrap them individually. They’ll be good for a couple of months.
Frequently Asked Questions (FAQs)
Q1. My cheesecake cracked. What gives?
Ans: The usual suspects are cold ingredients, over-mixing, or cooling it too fast. But listen, if it cracks, who cares? That’s what garnishes are for. Cover it with pistachios and raspberries and call it rustic. No one will know.
Q2. Can I use frozen raspberries?
Ans: Yep, absolutely. Don’t even bother thawing them. Just toss them in the pot and add a couple of extra minutes to the cooking time.
Q3. Why was my crust soggy?
Ans: Water from the water bath probably snuck in. You have to be aggressive with the foil wrapping. Use heavy-duty stuff and multiple layers. Make it watertight.
Q4. Do I really need a springform pan?
Ans: It’s highly recommended if you want those clean, perfect slices. You *could* make it in a deep-dish pie plate, but you’ll be serving it with a spoon, not a server. The choice is yours.
So, There It Is
This is the dessert that’ll make your friends think you’ve been hiding some serious baking skills. The crunchy, salty-sweet crust with that creamy filling and the sharp raspberry kick is just a winning combination. It might look like a project, but every step is simple. Go make it.
And if you do, drop a comment. I want to hear how it went.