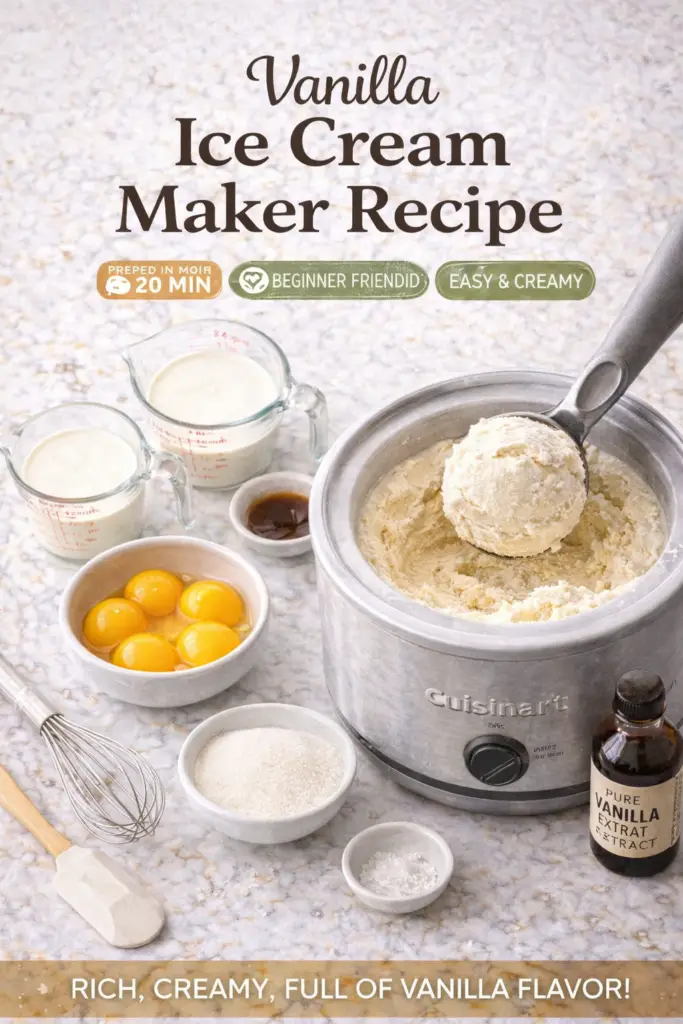
Vanilla Ice Cream Maker Recipe
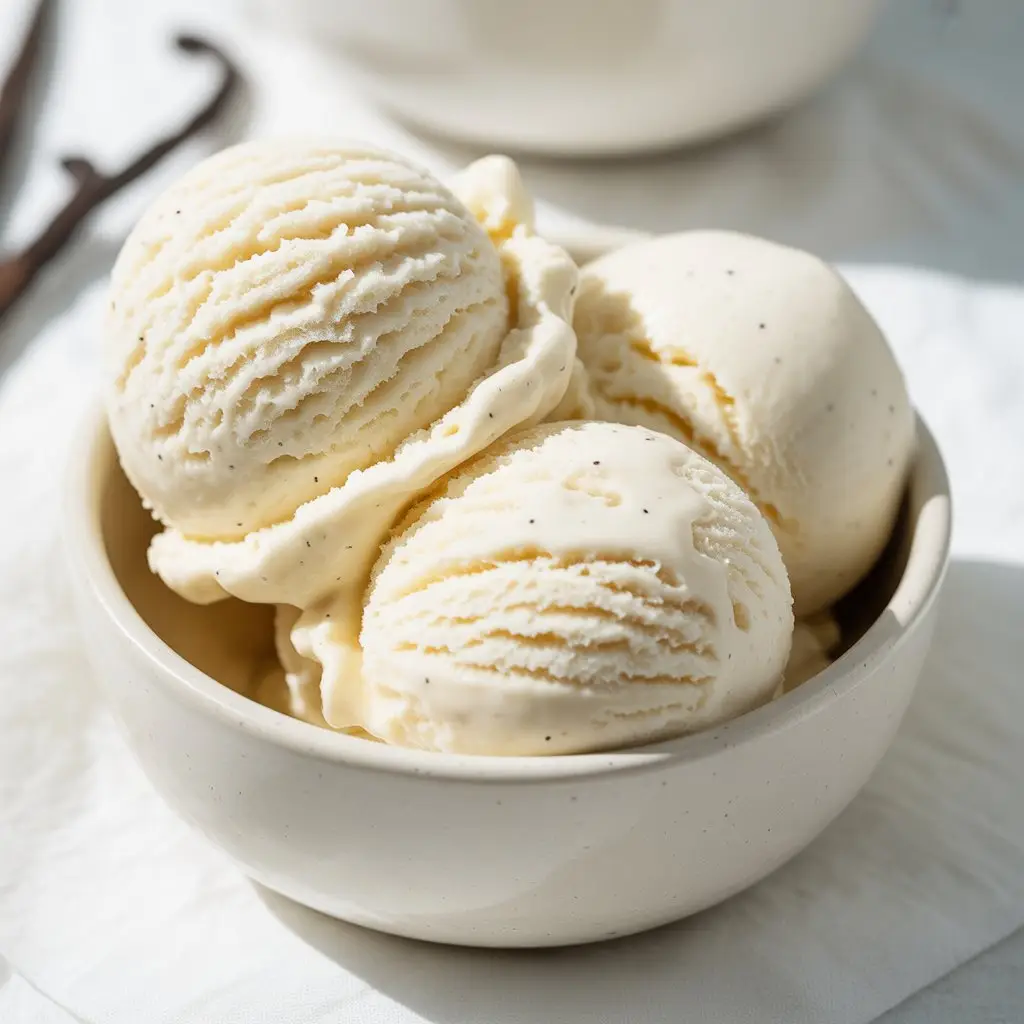
Can ice cream be life-changing?
I used to think vanilla was boring. The plain option. The one you pick when nothing else sounds good.
Then I made it from scratch.
Real vanilla ice cream tastes nothing like what you buy at the store. It’s creamy, rich, and has this depth of flavor that makes you close your eyes on the first bite. The kind that makes you understand why vanilla costs more than most spices.
And here’s the thing: making it at home is way easier than you’d think. You don’t need any fancy skills or complicated techniques. Just a few quality ingredients and an ice cream maker.
I’m going to walk you through exactly how to make the kind of vanilla ice cream that’ll ruin store-bought for you forever.
What You’ll Need

The Base Ingredients
| Ingredient | Amount | Why It Matters |
|---|---|---|
| Heavy Cream (cold) | 2 cups | Creates that luxurious, creamy texture |
| Whole Milk (cold) | 1 cup | Balances richness without being too heavy |
| Granulated Sugar | ¾ cup | Sweetness + helps prevent ice crystals |
| Vanilla Bean OR Pure Extract | 1 bean OR 2 tsp | The star of the show – don’t cheap out here |
| Large Egg Yolks | 5 | Makes it custard-based and ultra-rich |
| Fine Sea Salt | ¼ tsp | Enhances all the flavors |
Your Kitchen Arsenal
Essential Tools:
- Ice cream maker (the hero of this story)
- Medium saucepan
- Instant-read thermometer (seriously, get one)
- Fine mesh strainer
- Whisk
- Rubber spatula
- Sharp knife (for vanilla bean)
Nice to Have:
- Ice cream scoop
- Airtight container for storage
- Mixing bowls (1 large, 1 medium)
Pro Tips From Someone Who’s Made This 50+ Times
| Tip | Why It’s a Game-Changer |
|---|---|
| Freeze your bowl 24 hours ahead | A partially frozen bowl = soupy ice cream. Don’t risk it. |
| Use a thermometer | 170-175°F is the sweet spot. Too hot = scrambled eggs. Too cold = runny custard. |
| Real vanilla bean > extract | Those tiny black specks? Pure flavor bombs. Worth every penny. |
| Strain, always strain | Even perfect-looking custard has bits. Straining = silky smooth texture. |
| Chill overnight if you can | The flavors deepen and meld. Day-old custard makes better ice cream. |
Real talk: I learned the thermometer trick the hard way. My first batch without one? Scrambled egg ice cream. Not cute. Not delicious. Learn from my mistakes.
Quick Glance: Time Breakdown
Prep: 15 minutes
Cook: 15 minutes
Chill: 4+ hours (or overnight)
Churn: 25-30 minutes
Final freeze: 4+ hours
Total active time: 30 minutes
Total time: 9+ hours
Translation: Most of this is hands-off waiting. Perfect for planning ahead!
Also Read: Baked Jumbo Shrimp Stuffed with Crabmeat
Substitutions and Variations
Dietary Swaps
| Original | Swap This | Expect This |
|---|---|---|
| Heavy Cream | Coconut cream | Slightly coconutty, still creamy |
| Whole Milk | Oat or almond milk | Lighter texture, less rich |
| Sugar | Maple or coconut sugar | Subtle caramel undertones |
| Egg yolks | Skip custard, use Philly-style | Less rich but easier (see below) |
Flavor Spin-Offs
🥃 Bourbon Vanilla Add 2 tablespoons bourbon with vanilla – grown-up and complex
🍯 Honey Vanilla
Replace ¼ cup sugar with honey – floral and sweet
🧈 Brown Butter Vanilla Brown your butter first – nutty, caramelized perfection
🧂 Salted Vanilla Increase salt to ½ teaspoon – sweet and salty magic
☕ Vanilla Bean Espresso Add 2 tablespoons instant espresso – coffee shop vibes
Make Ahead Strategy
| When | What to Do | Pro Tip |
|---|---|---|
| 3 days before | Make custard base | Flavors actually improve with time |
| 1 day before | Freeze ice cream maker bowl | It needs 12-24 hours solid |
| Day of | Churn and freeze | Plan 4+ hours before serving |
The custard base gets better when made ahead. The vanilla infuses more deeply and everything mellows out. I actually prefer making it the night before.
How to Make Vanilla Ice Cream
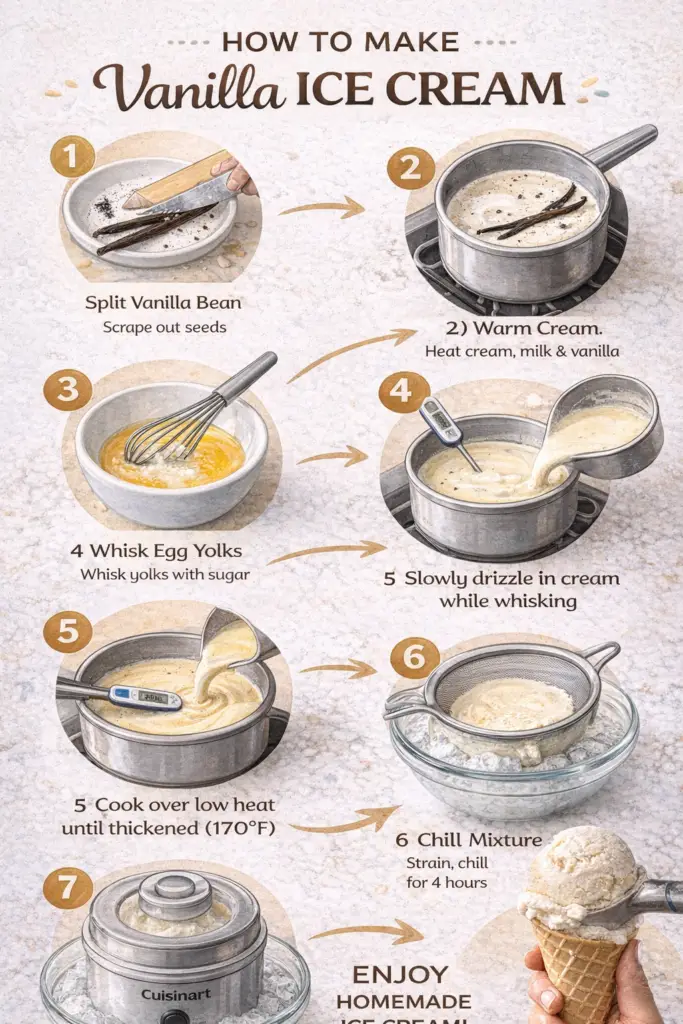
Step 1: Prep Your Vanilla
Split your vanilla bean lengthwise with a sharp knife. Scrape out all those beautiful black seeds with the back of your knife.
Don’t toss the pod! We’re using that too.
Using extract instead? Skip to step 2 and add it after straining.
Step 2: Heat the Cream Mixture
Combine in your saucepan:
- Heavy cream
- Milk
- Vanilla bean seeds + pod
- ½ cup sugar
- Salt
Heat over medium until it just starts to steam and tiny bubbles form around the edges. About 5 minutes.
You’re looking for that moment right before it boils. Hot, but not bubbling.
Step 3: Prepare the Egg Yolks
While the cream heats, whisk together in a medium bowl:
- 5 egg yolks
- Remaining ¼ cup sugar
Whisk for about 2 minutes until it turns pale yellow and thick. Your arm might get tired. That’s normal.
Step 4: Temper the Eggs (THE Most Important Step)
This is where most people panic. Don’t.
Remove cream from heat.
Very slowly drizzle about ½ cup of hot cream into the egg yolks while whisking constantly.
Add another ½ cup, still whisking.
Now pour the egg mixture back into the saucepan with the rest of the cream.
What you’re doing: Gradually raising the egg temperature so they don’t scramble. Rush this = scrambled egg ice cream. Take your time = silky custard.
Also Read: PF Chang’s Chicken Lettuce Wraps (Easy Family Favorite)
Step 5: Cook the Custard
Return pan to medium-low heat. Stir constantly with your rubber spatula, scraping the bottom and sides.
You’re done when:
- It coats the back of your spatula
- A line drawn through it holds
- Thermometer reads 170-175°F
This takes 5-8 minutes. Patience wins here.
Step 6: Strain and Cool
Pour custard through your fine mesh strainer into a clean bowl.
Fish out the vanilla bean pod. (Rinse it, dry it, stick it in your sugar jar for vanilla sugar!)
Cover with plastic wrap, pressing it directly onto the custard surface.
Refrigerate minimum 4 hours, overnight is better.
Step 7: Churn Time
Pour your ice-cold custard into your ice cream maker.
Churn according to manufacturer’s instructions. Usually 20-30 minutes.
It’ll look like soft-serve when done. You can taste it now (quality control is important 😉), but transfer to an airtight container and freeze 4+ hours for best texture.
Step 8: Serve It Right
Let ice cream sit at room temperature 5-10 minutes before scooping.
This makes it creamy instead of rock-hard and impossible to scoop.
The Science Behind Perfection
| Element | Temperature/Timing | What Happens If You Skip It |
|---|---|---|
| Custard cooking | 170-175°F | Too low = runny. Too high = scrambled eggs |
| Initial chill | 4+ hours | Warm custard = icy texture |
| Churning | 20-30 minutes | Under = soupy. Over = butter |
| Final freeze | 4+ hours | Soft-serve texture instead of scoopable |
Storage and Leftovers
How to store it:
- Airtight container in the back of your freezer (coldest spot)
- Press parchment paper directly on surface before sealing
- Keeps air out = prevents ice crystals
Shelf life:
- Week 1: Peak deliciousness ⭐⭐⭐⭐⭐
- Week 2: Still great ⭐⭐⭐⭐
- Week 3+: Getting icy ⭐⭐
Softening tip: Never microwave. Just let it sit on the counter 10-15 minutes.
Nutritional Breakdown
| Per ½ Cup Serving | Amount | % Daily Value |
|---|---|---|
| Calories | 285 | – |
| Total Fat | 21g | 27% |
| Saturated Fat | 13g | 65% |
| Cholesterol | 165mg | 55% |
| Sodium | 55mg | 2% |
| Total Carbs | 22g | 8% |
| Sugar | 21g | – |
| Protein | 4g | 8% |
Makes 8 servings (1 quart total)
Real talk: This isn’t health food. It’s a treat. And it’s worth every calorie.
Also Read: Smoked Brisket Beer Cheese Bombs
Troubleshooting Guide
| Problem | Why It Happened | The Fix |
|---|---|---|
| Icy texture | Custard wasn’t cold enough OR churned too slow | Make sure custard is ice-cold and bowl is frozen solid |
| Eggy flavor | Overcooked custard OR old eggs | Don’t exceed 175°F, use fresh eggs |
| Won’t thicken | Didn’t cook long enough | Keep stirring until it reaches 170°F minimum |
| Scrambled eggs | Didn’t temper properly OR too much heat | Temper slowly, use medium-low heat |
| Too hard to scoop | Not enough fat OR over-frozen | Let sit 10 mins before serving |
FAQ
Q: Can I make this without an ice cream maker?
Technically yes, but I won’t lie to you – the texture won’t be as good. Pour chilled custard into a shallow container and freeze. Stir vigorously with a fork every 30 minutes for 3 hours to break up ice crystals.
Q: Why is my ice cream icy instead of creamy?
Usually means your custard wasn’t cold enough before churning, or your ice cream maker bowl wasn’t frozen solid. Both need to be absolutely frigid.
Q: Can I skip tempering the eggs?
Please don’t. You’ll have scrambled egg chunks in your ice cream. Not the vibe we’re going for.
Q: My custard isn’t thickening. Help!
Put it back on the stove and keep stirring until it hits 170-175°F. Low heat took too long probably.
Q: Vanilla bean vs extract – does it really matter?
For everyday ice cream? Extract is fine. For special occasions or when you want to impress? Vanilla bean is worth it. Those flecks are gorgeous and the flavor is noticeably deeper.
Q: How long does custard need to chill?
Minimum 4 hours, but overnight is ideal. The colder it is, the better it churns.
Q: Can I halve this recipe?
You can, but ice cream makers work best when at least half full. I’d make the full batch and freeze half for later.
Wrapping Up
There’s something deeply satisfying about making ice cream from scratch.
You control every ingredient. You know exactly what’s going into it. And the flavor? Completely unbeatable.
This vanilla ice cream has become my go-to base for everything. Sometimes I keep it pure vanilla. Other times I swirl in hot fudge or fold in crushed cookies. It’s endlessly adaptable.
The first time you taste it, you’ll get it. That moment when you realize this is what vanilla ice cream is supposed to taste like.
Give it a try. Take your time with the custard. Let it chill properly. Then churn it and prepare to never look at store-bought the same way again.
I’d love to hear how yours turns out! Drop a comment below and let me know what flavor variation you tried or if you have any questions about the process.

